Using export scheduler
General
Export Scheduler is especially designed for generating reports automatically by schedule.
Reports are exported to the following formats:
| Exported file format | Maximum number of data rows |
|---|---|
Google Drive |
300000 |
Microsoft OneDrive |
10485701 |
TSV |
1000000 |
CSV |
1000000 |
Excel |
1048570 |
TSV.GZ |
1000000 |
If the total number of data rows to be exported exceeds 1000000 for the TSV, CSV or TSV.GZ format, then the Others data row is added: the summary of data rows beyond 1000000.
Links to reports are delivered to the specified emails.
Creating an Export Schedule
To create a desired Export Schedule:
- Open your slicer.
- Select desired keys and data columns.
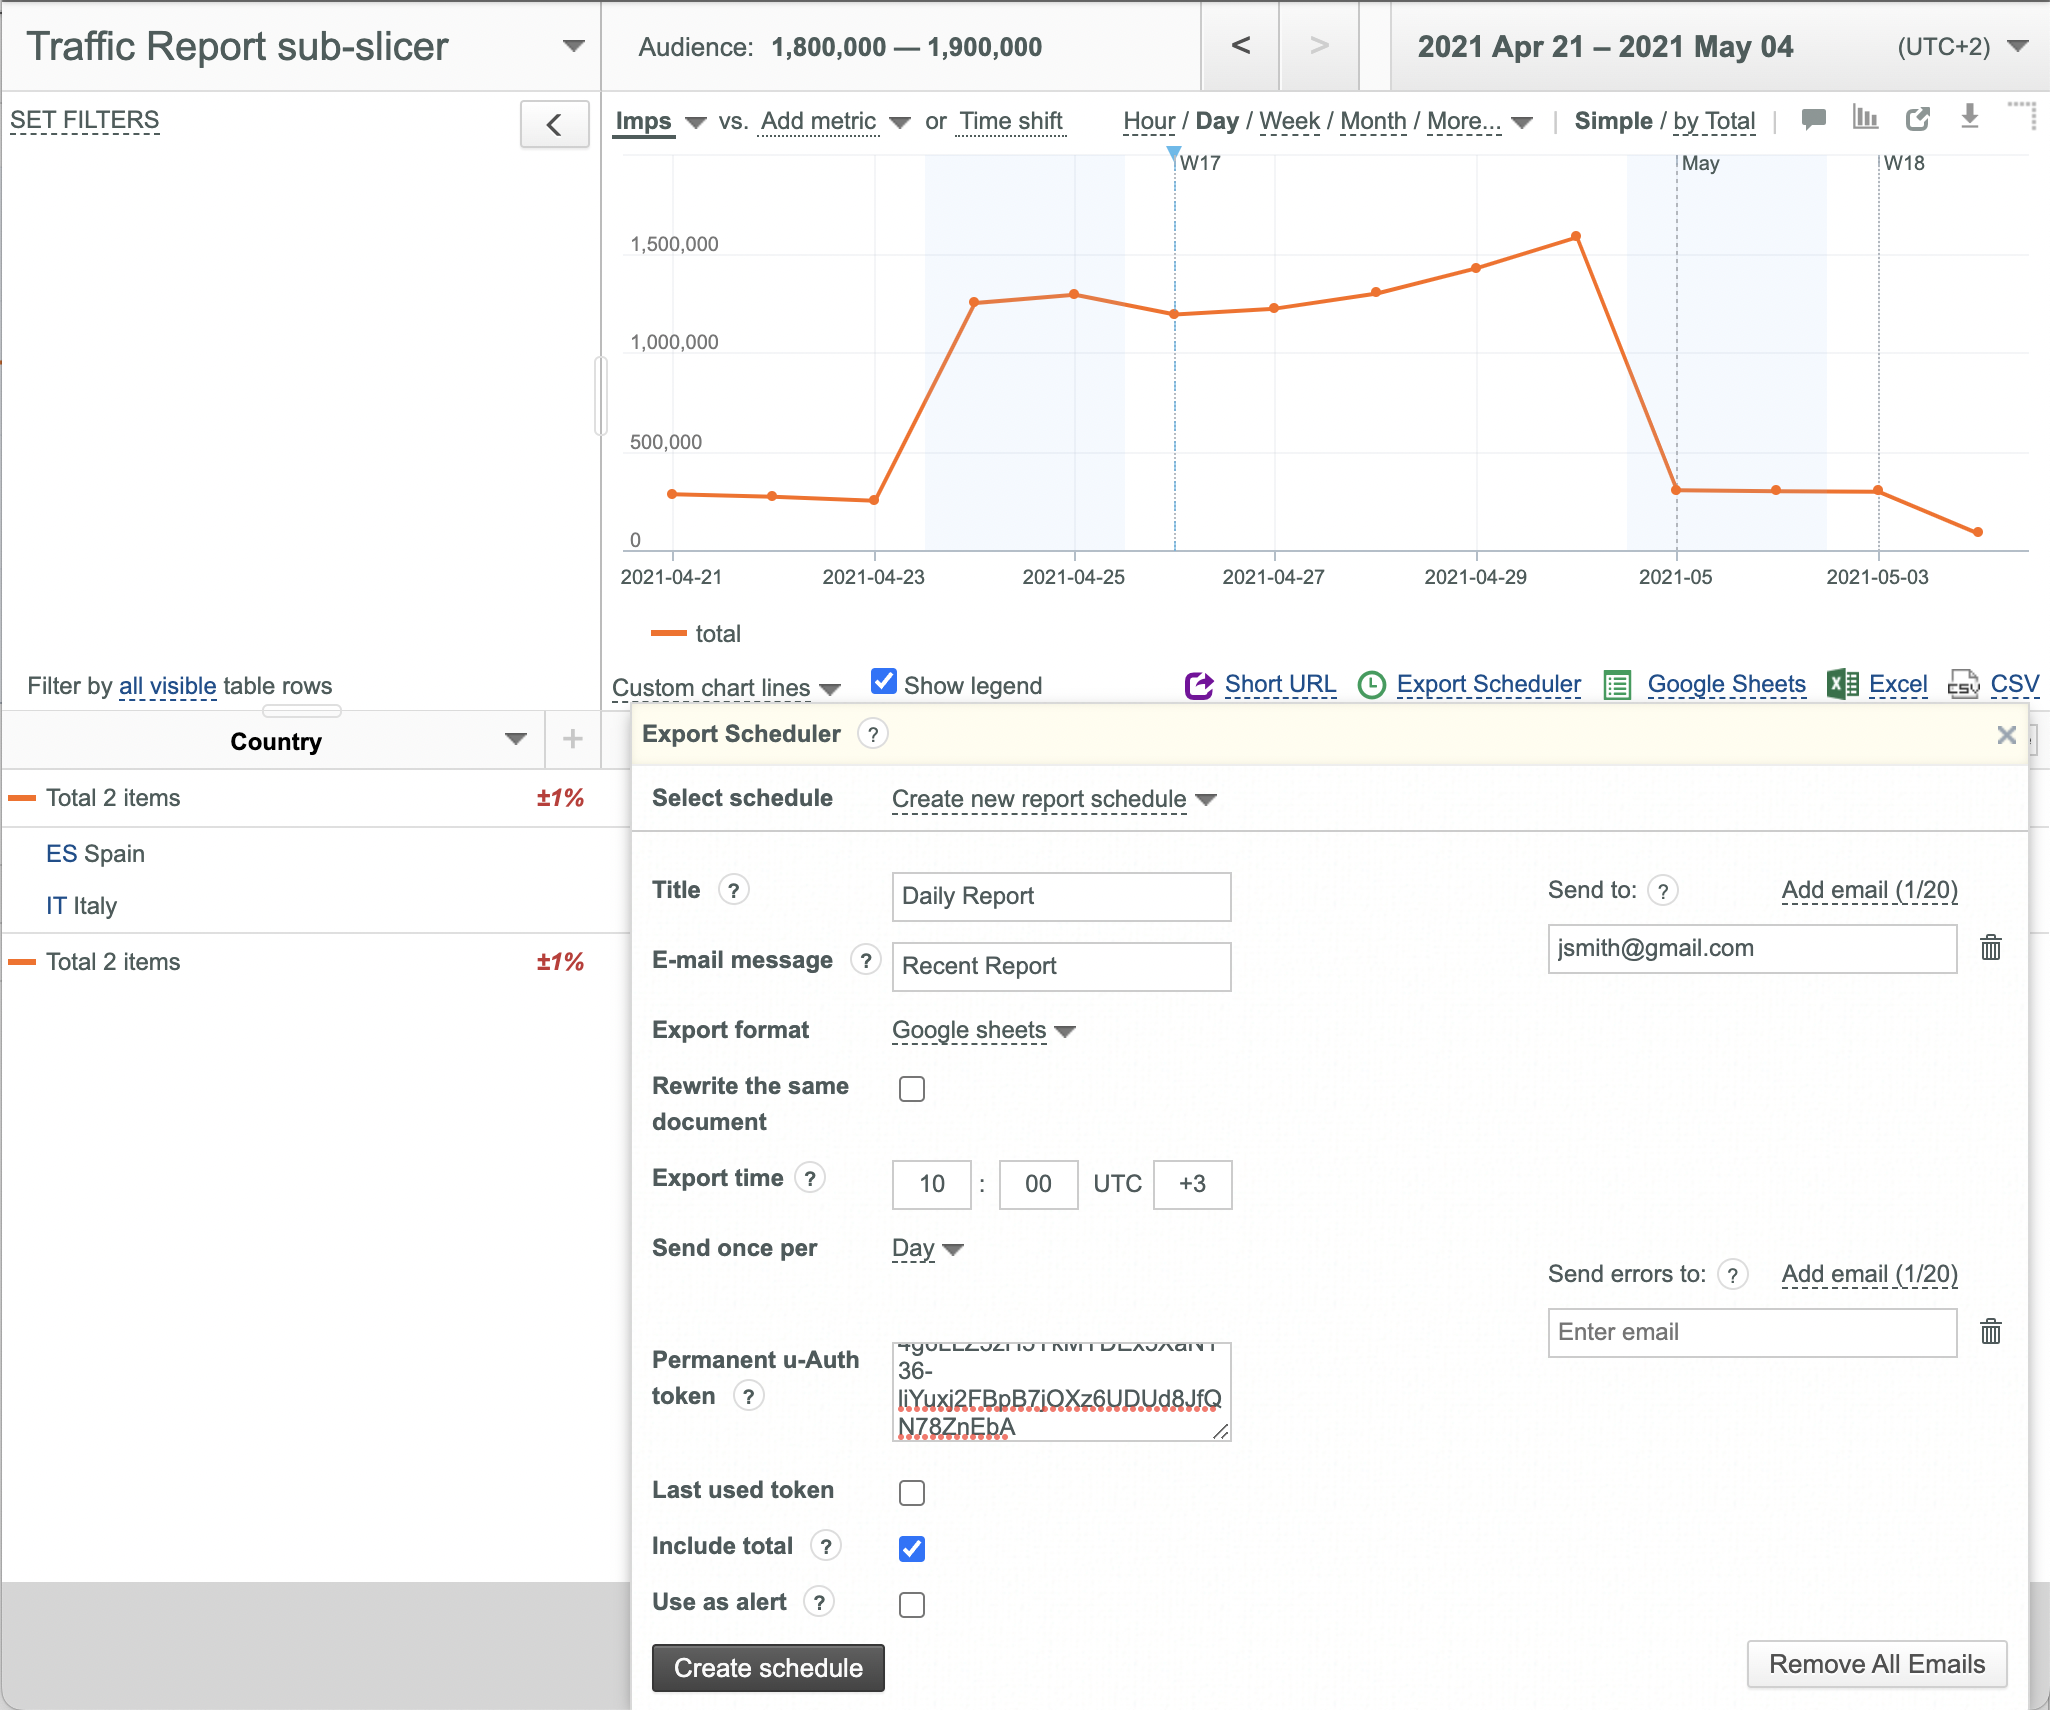
- Click the Export Scheduler link. Export Scheduler dialog box is displayed:
- Enter your Permanent u-Auth token or select the Last used token checkbox if you have already created a report earlier.
- Enter Report Title, if necessary ( Daily Report in this example).
- Enter Email message, if necessary ( Recent Report in this example).
- Select the desired export format ( Google Drive, Microsoft OneDrive, TSV, CSV, Excel, TSV.GZ) from the corresponding drop-down list.
- Enter export time.
- Select report generation period ( Day, Week or Month) from the corresponding drop-down list.
- Add target emails.
- Select the Include total checkbox if you need to add the Total line to your report.
- Select the Use as alert checkbox if you want to deliver the report only if it is not empty.
- Click the Create schedule button.
Editing an Export Schedule
To edit an existing Export Schedule:
- Open your slicer.
- Add/remove keys and/or data columns as required.
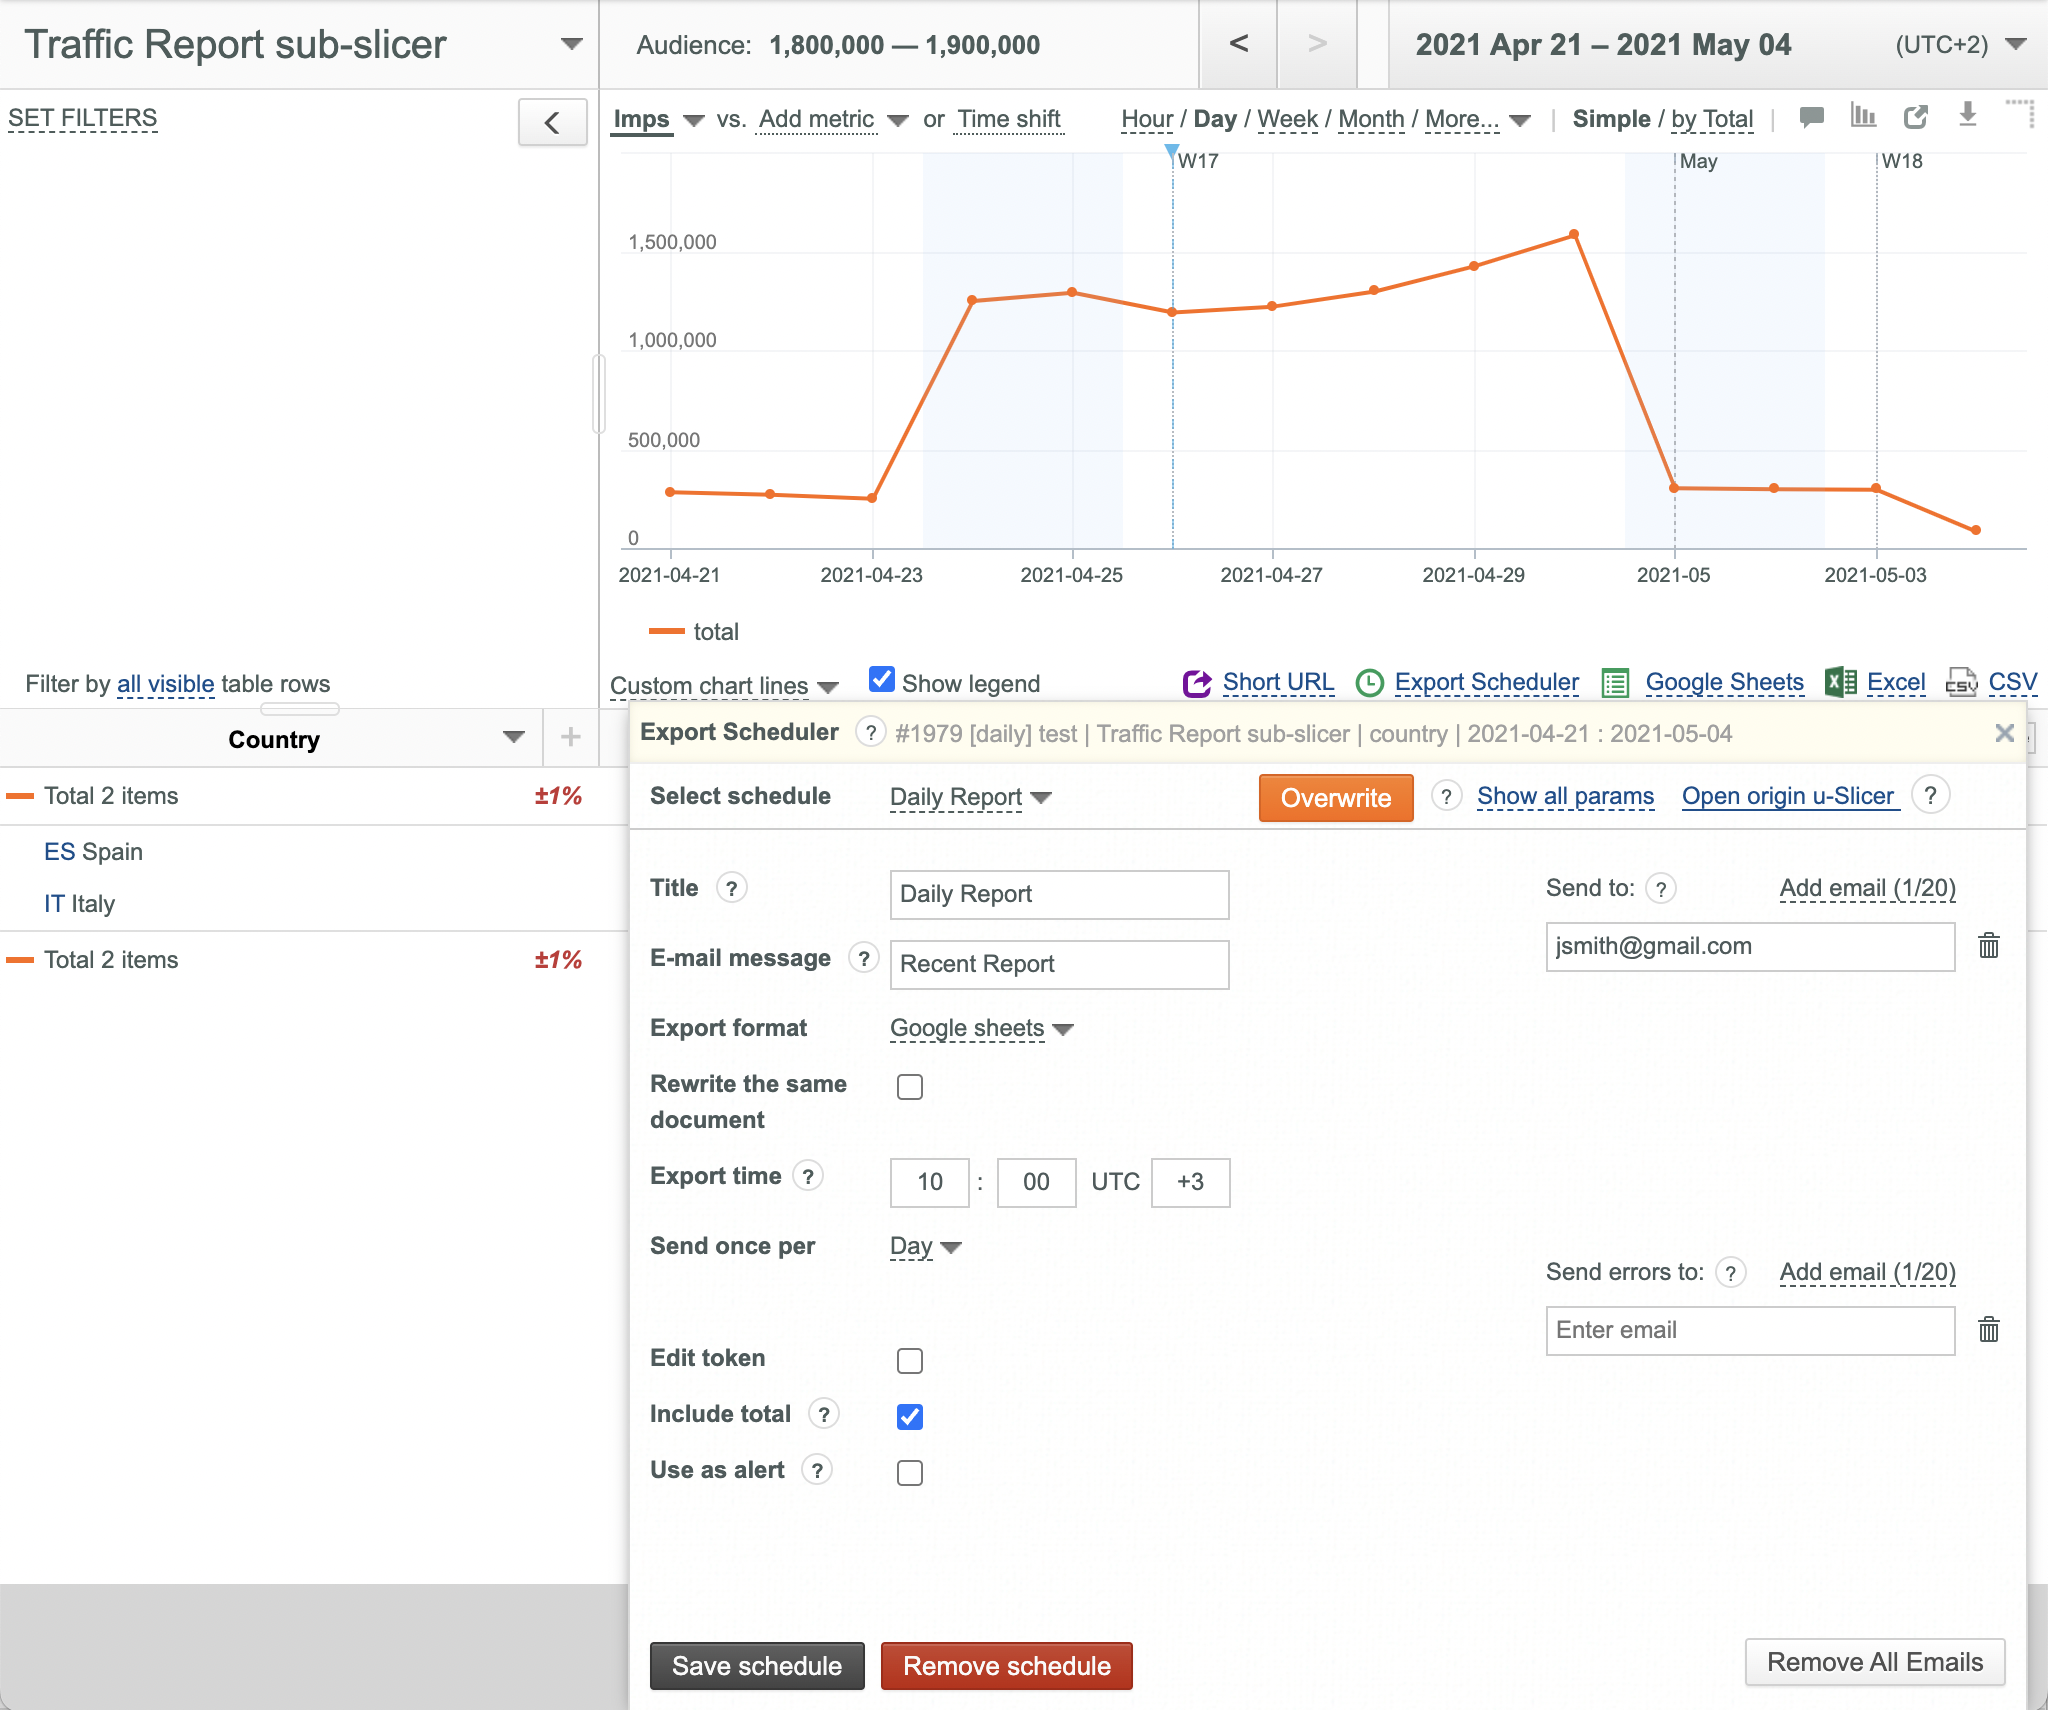
- Click the Export Scheduler link.
- Select the desired schedule from the corresponding drop-down list.
- Set a new export time as required.
- Set a new report generation period as required.
- Click the Overwrite button (only, if keys/data columns were added/removed).
- Click the Save schedule button.
Changing permanent u-Auth token for a scheduled report
To change u-Auth Permanent token for a scheduled report:
- Open your slicer.
- Click the Export Scheduler link.
- Select the desired schedule from the corresponding drop-down list.
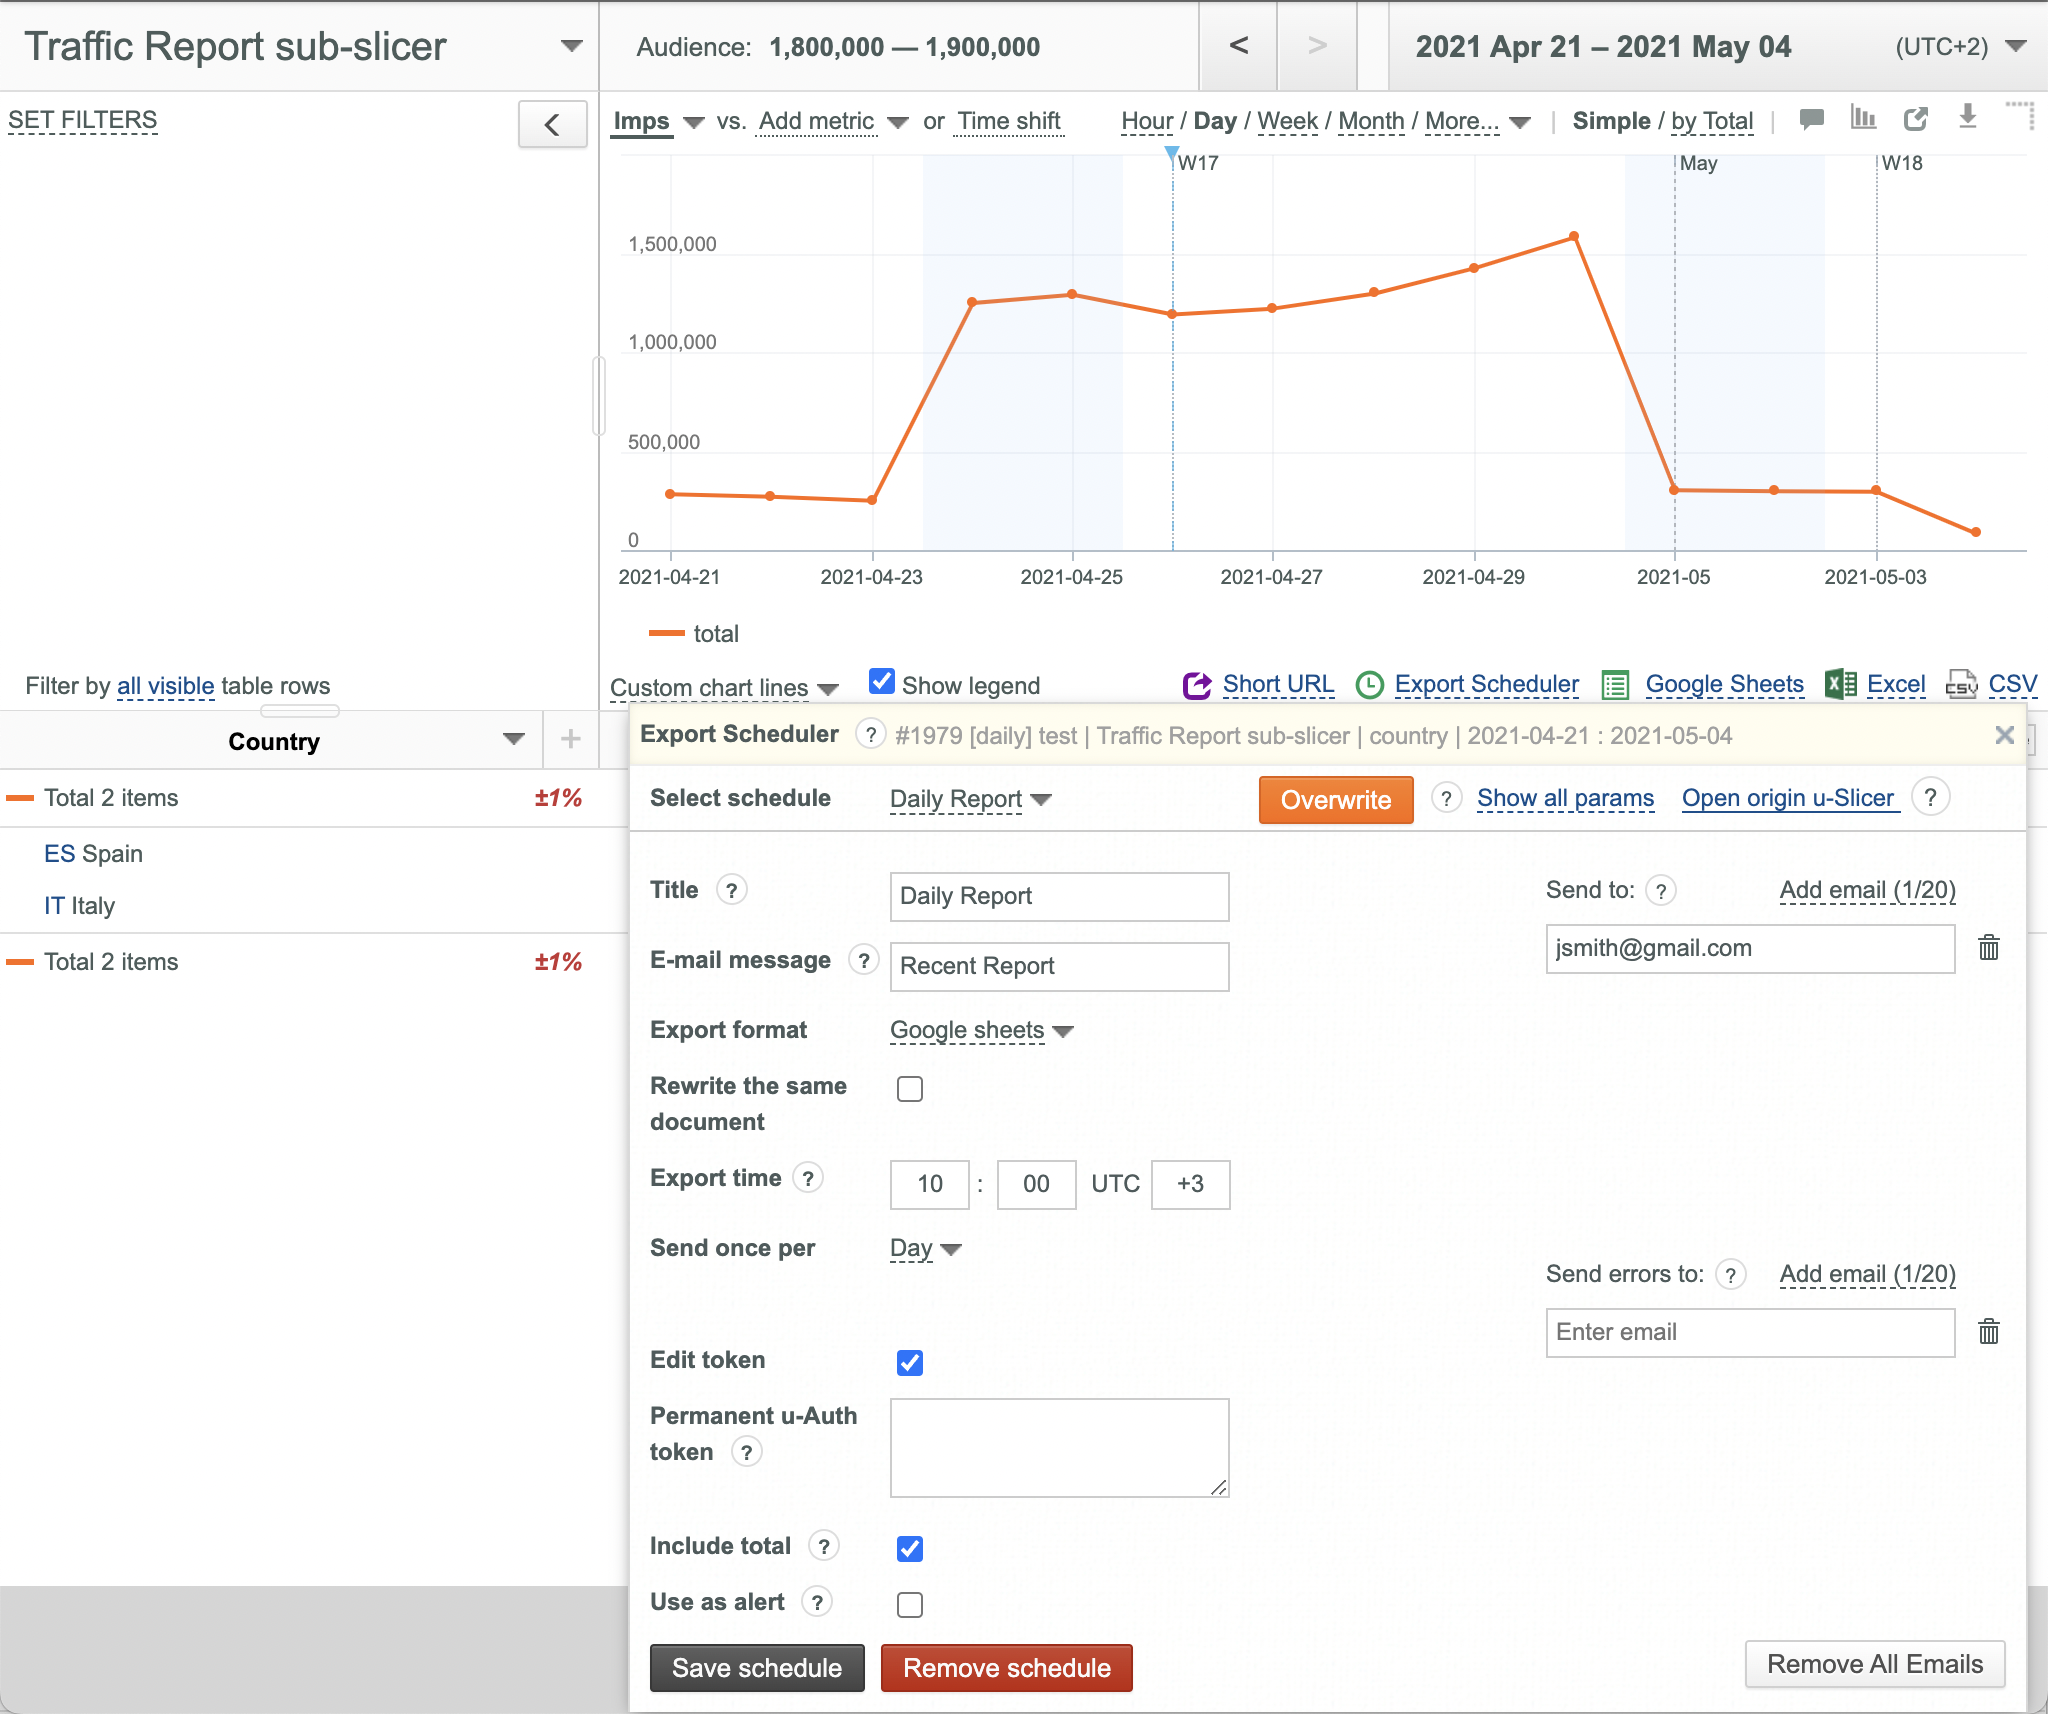
- Select the Edit token checkbox.
- Enter your new Permanent u-Auth token.
- Click the Save schedule button
Removing an Existing Export Schedule
To remove an existing Export Schedule:
- Open your slicer.
- Click the Export Scheduler link.
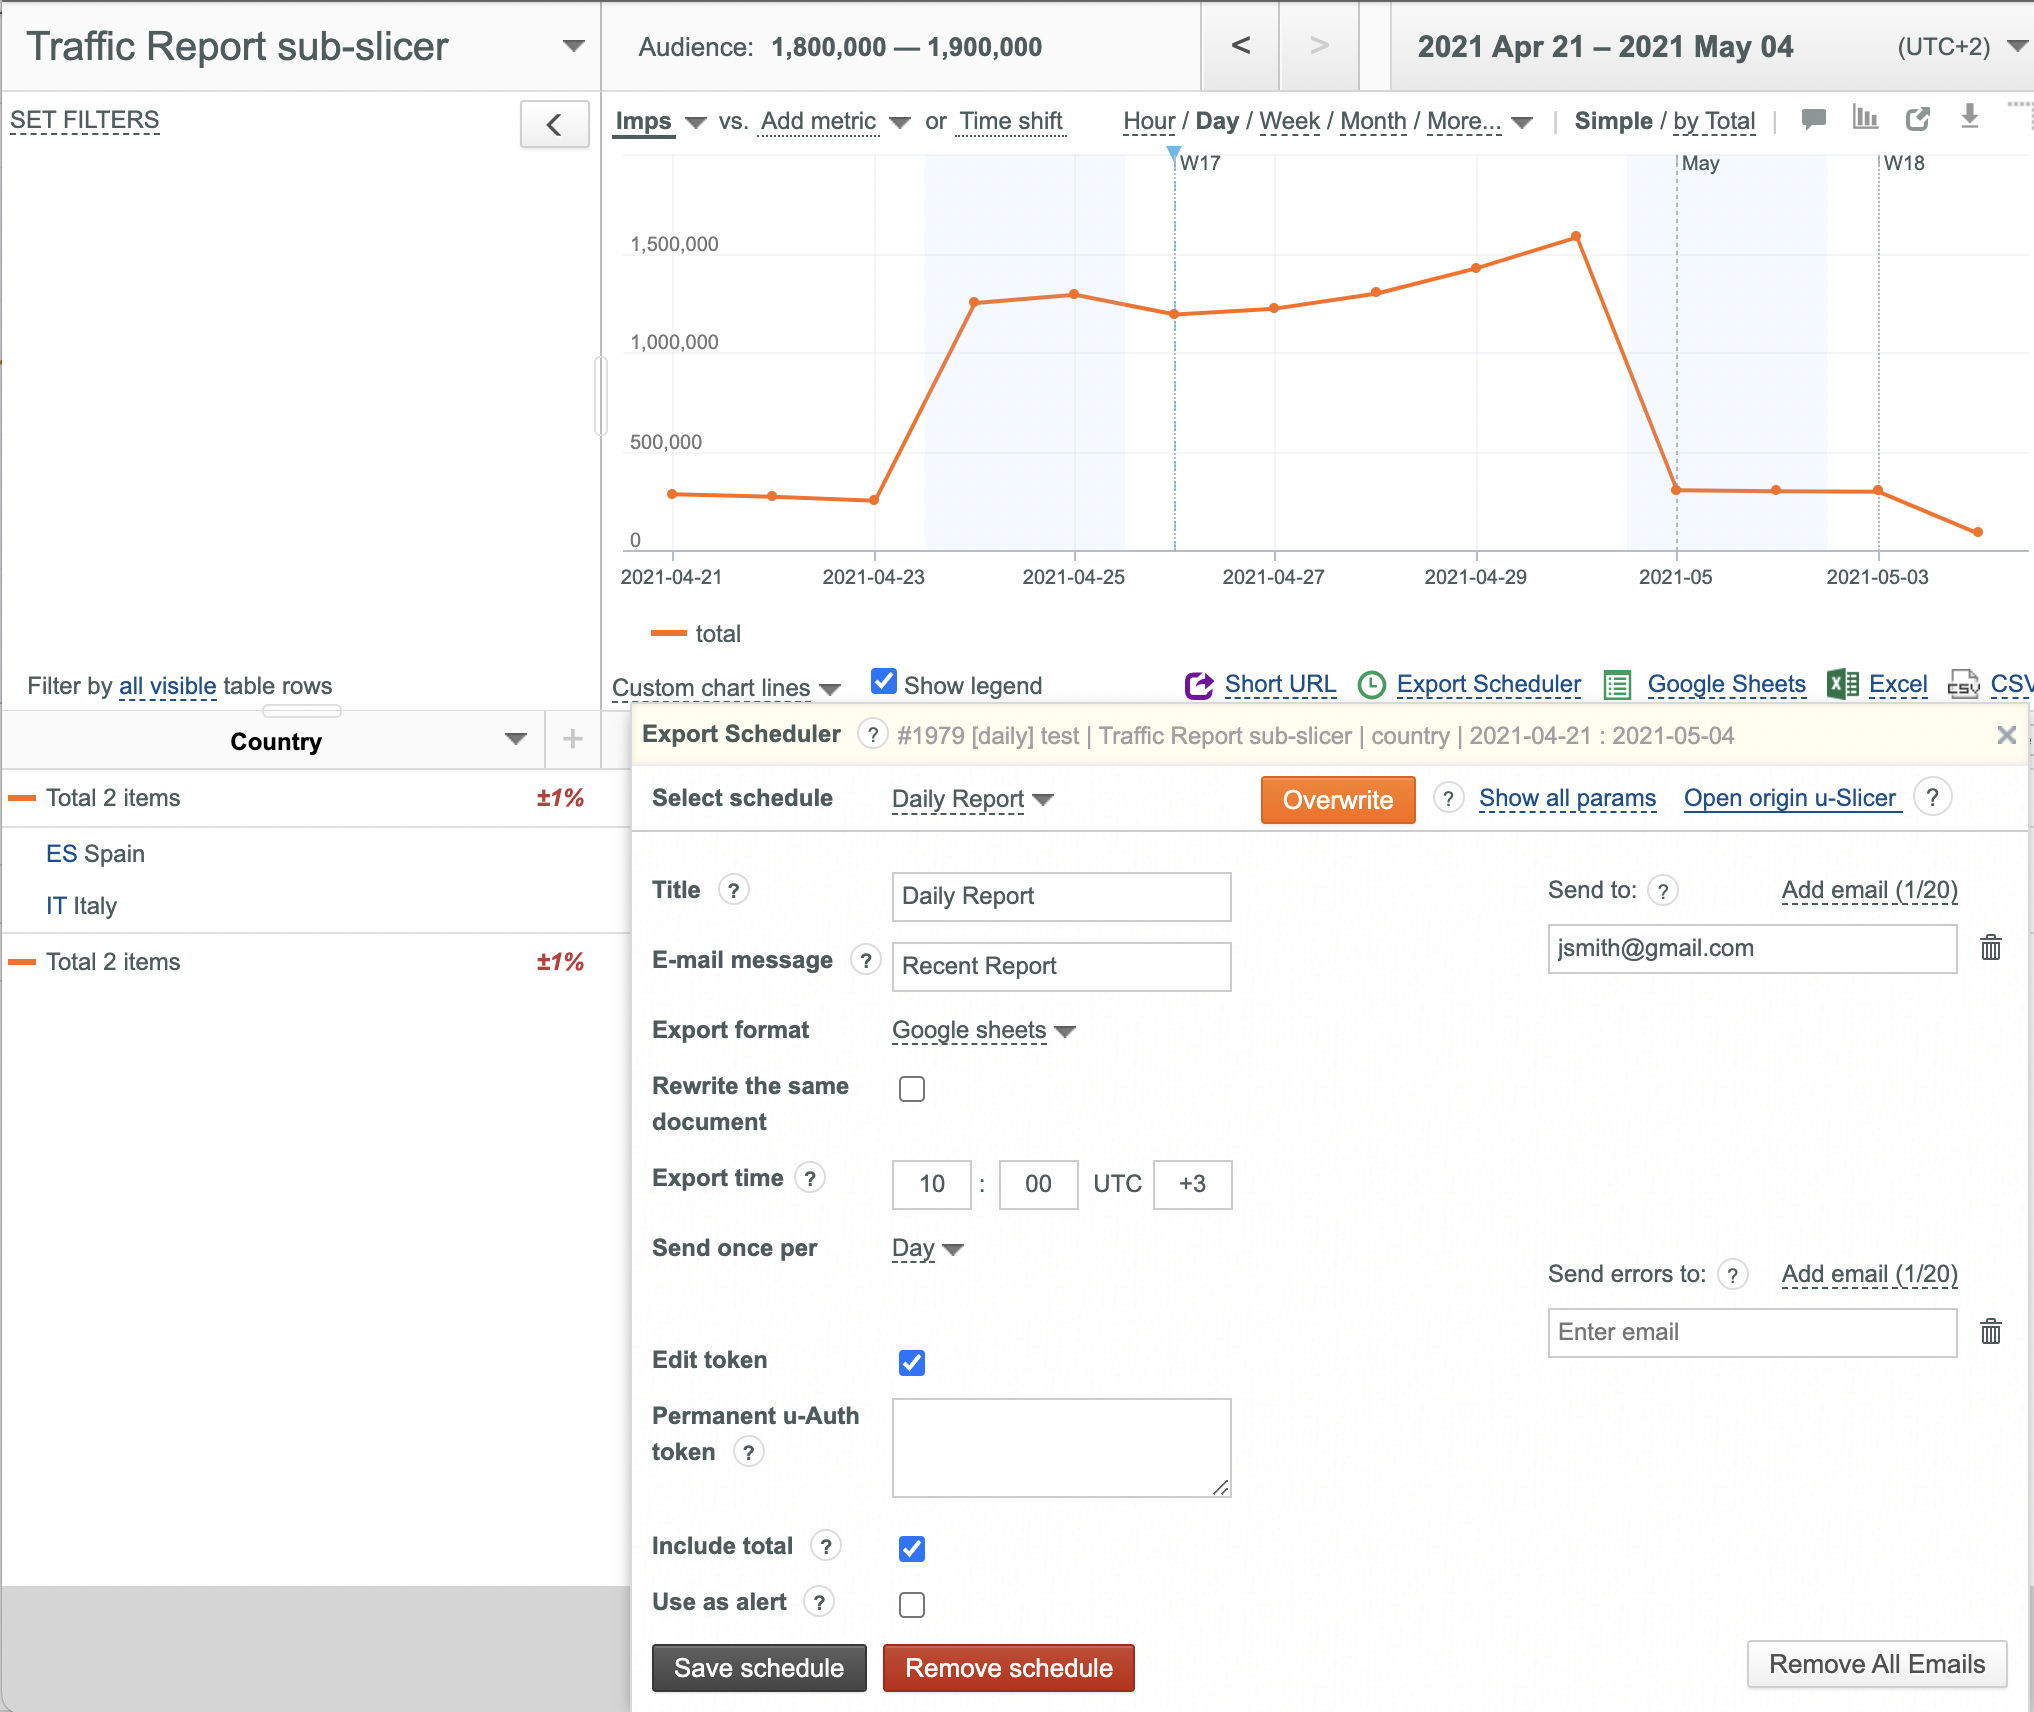
- Select the desired schedule from the corresponding drop-down list.
- Click the Remove schedule button.


