Authentication
Using authentication at performing requests to u-Slicer via API
Authentication is performed in each request and is implemented by specifying a proper access token. At using the curl utility access token can be specified in two methods:
-
In the Authorization header (Recommended).
-H "Authorization: Bearer <token>"
-
As the token key in Post arguments (Supported for compatibility).
"token": "<token>"
To receive an access token use one of the methods specified below.
Receiving a temporary access token using API
POST https://uauth.iponweb.com/oauth2/token/
Generate a temporary access token based on the provided username and password
Request body
grant_type: authorization type. Possible values: passwordusername: username to login withpassword: password for the specified usernamescope: the service for which the generated access token can be used. Possible values: service_id=uslicer.iponweb.com, service_id=upredict.iponweb.com
Response
token_type: the type of the generated access token. Possible values: Bearerscope: the service for which the generated access token can be used. Possible values: service_id=uslicer.iponweb.com, service_id=upredict.iponweb.comaccess_token: generated access tokenexpires_in: access token validity period. Possible values: 3600 seconds
Example
Request
{
  "grant_type": "password",
  "username" : "test",
  "password" : "testpassword",
  "scope" : "service_id=uslicer.iponweb.com"
}
curl --data 'grant_type=password \
&username=test \
&password=testpassword \
&scope=service_id=uslicer.iponweb.com' \
"https://uauth.iponweb.com/oauth2/token/"
Response
{
  "token_type" : "Bearer",
  "scope" : "service_id=uslicer.iponweb.com",
  "access_token" : "<token>",
  "expires_in" : "3600"
}
Note: The following additional headers should be used in the command for receiving tokens from Python scripts:
Header
{
  'Content-Type': 'application/x-www-form-urlencoded'
}
Receiving a permanent access token using UI
To generate a permanent access token for u-Slicer using UI:
-
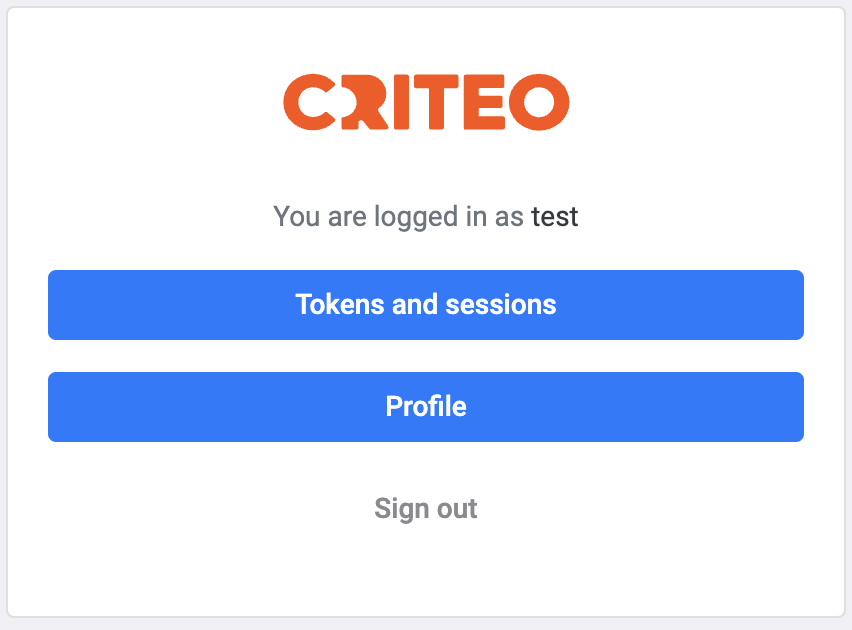
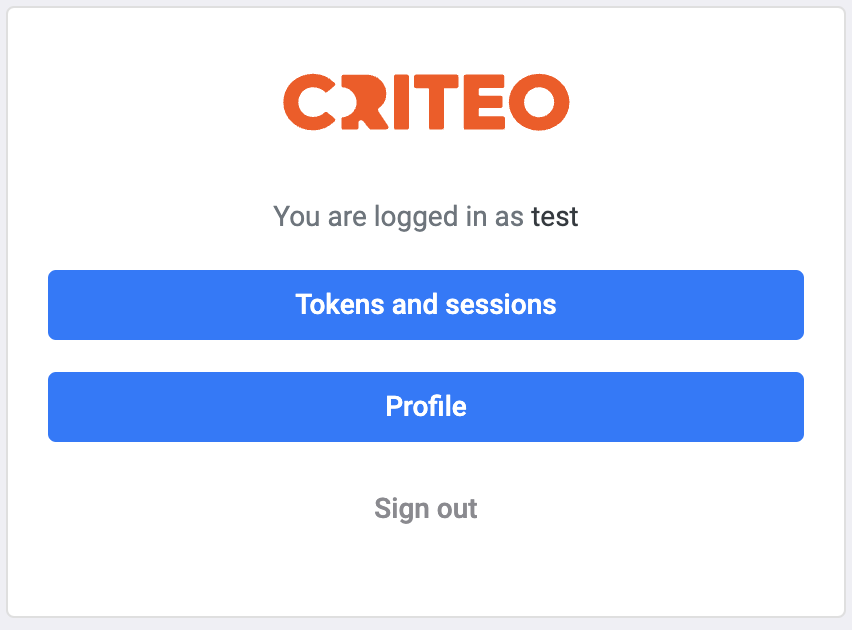
Open the https://uauth.iponweb.com/ link in your browser and authorize if it's necessary. The following dialog box is displayed:
-
Click the Tokens and sessions button.
-
Click the TOKENS link on the top navigation panel.
-
Click the New permanent token button in the appeared dialog box with the list of available tokens. This list is empty, if you are creating your first token.
-
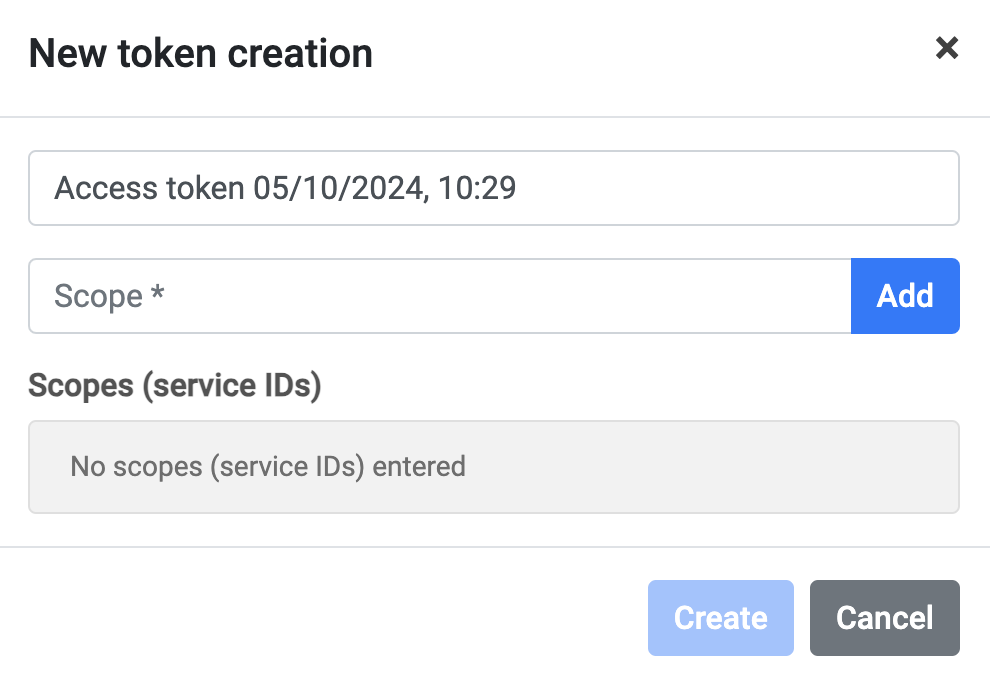
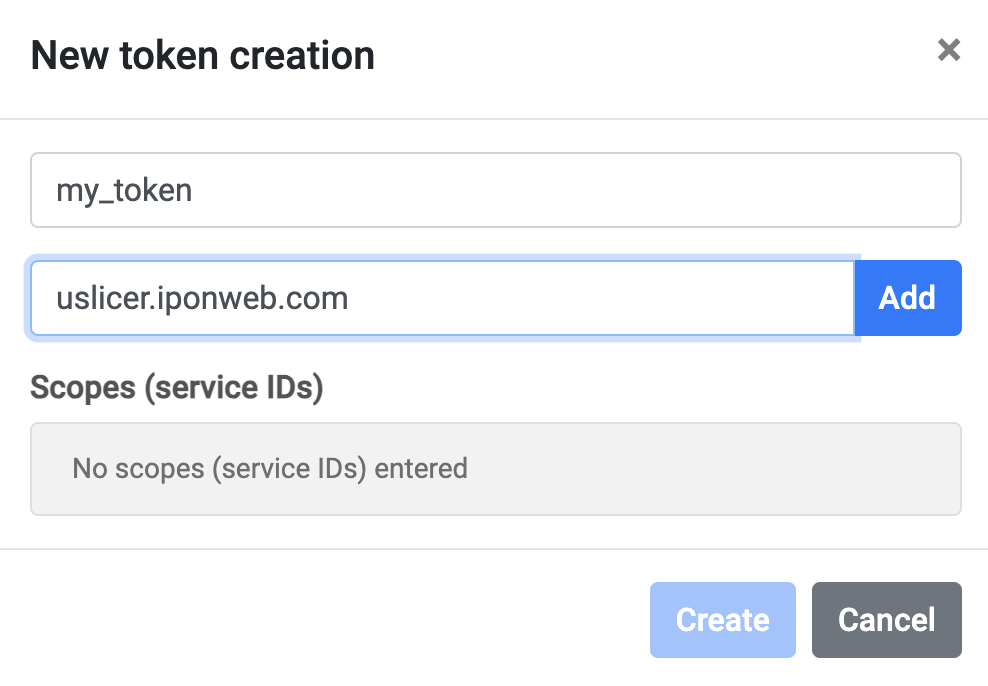
Enter token Name and Scope (uslicer.iponweb.com) in the appeared New token creation dialog box.
-
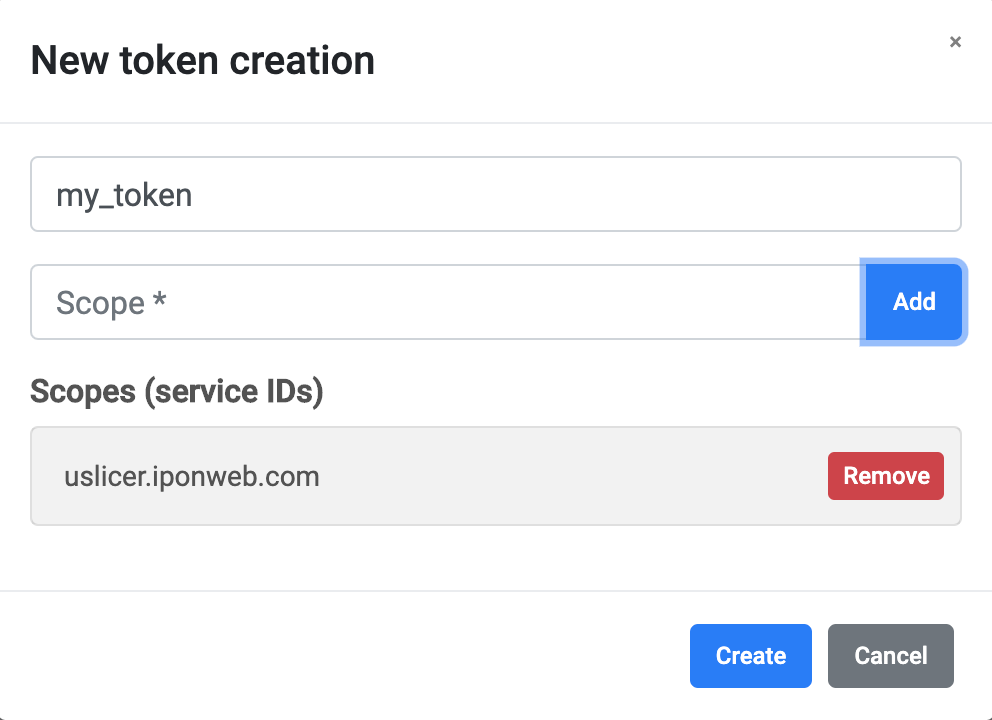
Click the Add button. The entered Scope is added to the list of Scopes.
You can use any Name. Use uslicer.iponweb.com Scope for u-Slicer.
-
Click the Create button.
-
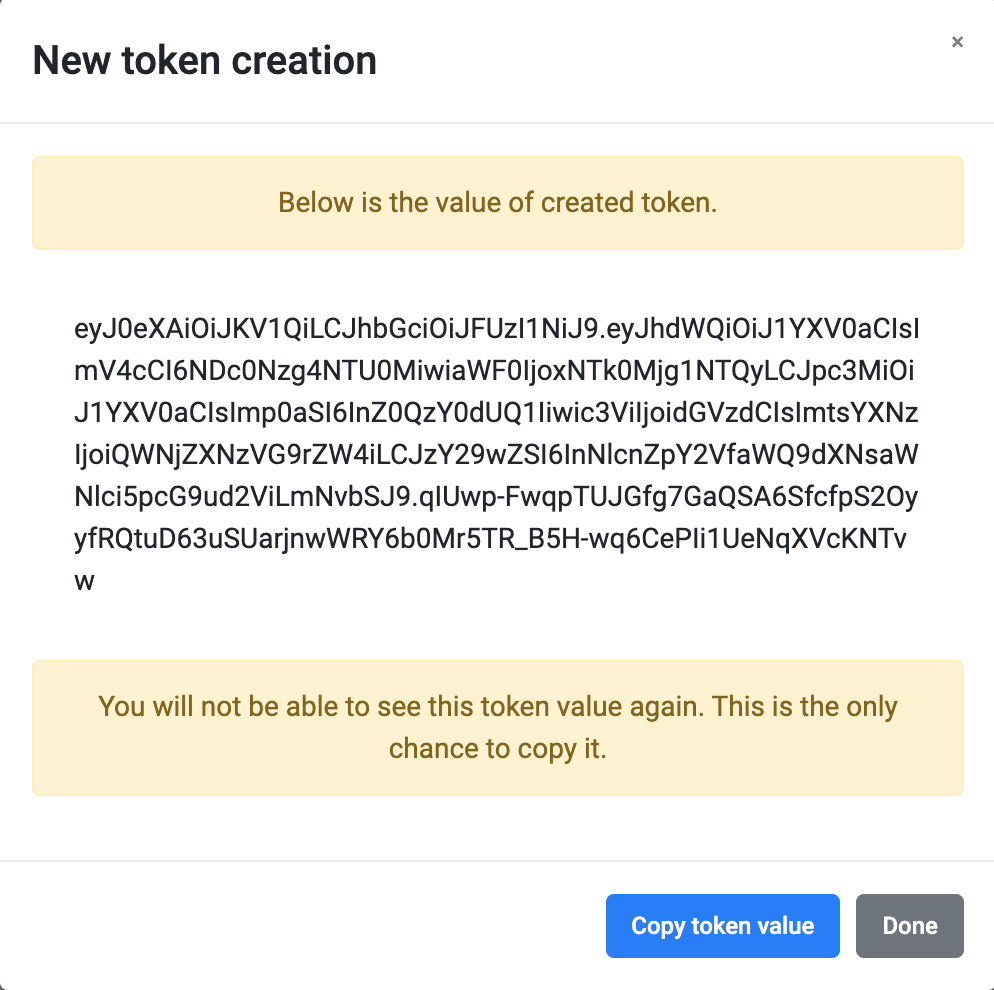
If entered Scopes are correct, the new token is created and displayed.
Click the Copy token value button and save your token in a separate file.
-
Click the Done button to finish the operation.
-
See your new token in the list.
Revoking a permanent access token
-
Open the https://uauth.iponweb.com/ link in your browser and authorize if it's necessary. The following dialog box is displayed:
-
Click the Tokens and sessions button.
-
Click the TOKENS link on the top navigation panel.
-
Click the Revoke button.
-
Click OK to confirm the revoking operation.
-
See that the token is revoked.
